pidnas 0.3 LTS · Installation guide
Install pidnas.
A guide to the amd64 (x86-64) image, built on Ubuntu 26.04 LTS: USB setup, installation choices including Windows Alongside, everyday updates, backup and recovery planning.
01 · Before you begin
Designed for individual users, students and small enterprises, with a focus on capable older Intel MacBooks and amd64 laptops and PCs, plus newer compatible x86-64 hardware. Check processor, firmware and storage requirements before installation.
- Use a compatible Intel or AMD 64-bit PC, or a virtual machine that supports an amd64 guest. This image is not an ARM or Apple silicon native image.
- Back up files from the target computer and USB drive, and make sure you can restore them. Keep the current operating system’s recovery media and encryption recovery keys accessible. Writing installation media erases the USB drive; an erase-disk installation also deletes the selected computer disk.
- Choose a USB drive with capacity greater than the published image size. Save the ISO to your computer first, and leave enough free space for the complete download.
- Vendor support and upgrade options vary by model and Windows edition, including Windows ESU. Check your current options and the published release notes for hardware requirements and installation steps before choosing to migrate.
02 · Verify the image
Authenticate the signed checksum file first, then compute the ISO’s SHA-256. Its entry in the signed file, the value on the release page and your computed result must match.
Authenticate the checksum
Download the checksum file, its detached signature and the public signing key from the release page. Save them as SHA256SUMS, SHA256SUMS.asc and pidnas-signing-key.asc in the same folder as the ISO. With GnuPG installed, inspect the key before importing it:
gpg --show-keys --with-fingerprint pidnas-signing-key.ascThe full primary-key fingerprint must be:
76D007A3E6C15AA32268B726899A8B11CE7E60C4Import only the matching key, then verify the detached signature:
gpg --import pidnas-signing-key.asc
gpg --status-fd=1 --verify SHA256SUMS.asc SHA256SUMS
Require successful verification under that primary key or its certified signing subkey. A “Good signature” from a different key is insufficient. This release-signing key authenticates downloads; it is not a Secure Boot certificate.
Check the image hash
Expected SHA-256
2fc7cb23d6f8c433f40d97033362b21978a685c66ff08469d599ed28d4ebb07eRun the command for your current system from the folder containing the ISO:
Linux
sha256sum -- pidnas-0.3.0-public-preview4-amd64.isomacOS
shasum -a 256 -- pidnas-0.3.0-public-preview4-amd64.isoWindows PowerShell
Get-FileHash -LiteralPath 'pidnas-0.3.0-public-preview4-amd64.iso' -Algorithm SHA256Installer source downloads
Source code and build instructions for the modified Calamares installer.
Source archive SHA-256 hashes
- Source code
8ca8bf2a189c257d283dadb221a170a1567028299e70ea34f239b9fb35dd93ef
03 · Create a USB installer
Use an image-writing application to write the verified ISO to the USB drive. Copying the ISO file onto the drive does not create installation media. Double-check the selected drive, wait for writing and verification to finish, then eject it safely.
Ubuntu’s USB-writing guideUse the pidnas image and its checksum when following these general USB-writing steps.
04 · Boot and install
Alongside Windows or a clean install
- Alongside Windows: Back up Windows and save its BitLocker/device-encryption recovery key somewhere accessible outside the computer before disk or firmware changes. Prepare free space from Windows; the pidnas installer does not shrink, move or grow NTFS. Choose “Install alongside Windows” only when the installer offers a supported proposal.
- Installing alongside locked or encrypted Windows partitions is not supported in this preview. BitLocker suspension is not decryption. If encryption or recovery requirements are unresolved, stop and use the official BitLocker installation guidance before proceeding.
- Clean install: Erasing the selected disk deletes its Windows installation and files. Select this mode explicitly only when that is your intention. The installer starts with no installation mode selected; review the Current/After partition preview before the final confirmation.
Firmware and boot scope
Use x64 UEFI boot mode with rEFInd. BIOS and UEFI32 are outside this image’s boot profile. The installer does not change firmware security settings and blocks disk changes if Secure Boot is on or its state cannot be confirmed.
The MacBookAir7,2 hardware profile targets the non-T2 Intel MacBook Air. This x86-64 image is not intended for T2, Apple silicon or other ARM devices.
Installation flow
- Insert the installer USB, restart and use the computer’s firmware boot menu to select it. Follow the release notes for supported firmware and boot settings.
- If a live session is offered, check the display, keyboard, network and other hardware you need before starting the installer.
- Follow the installer prompts. Review the target disk and partition choices carefully before confirming any disk changes.
- Complete installation, restart when prompted and remove the USB drive. Sign in with the account you created during installation.
Installer preview
Explore the clean-install and Windows Alongside screens. Open an image for the full-size view.
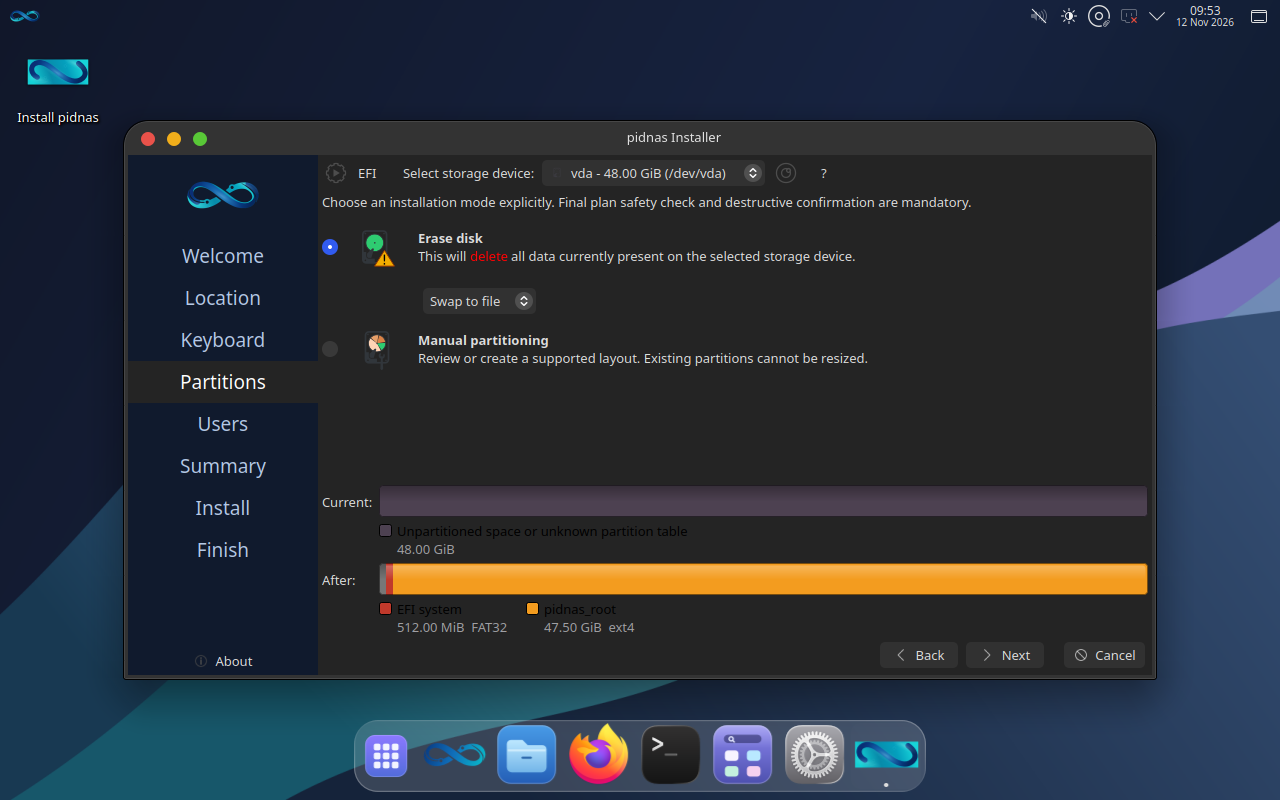
Guided layout preview
Disk layout for a clean installation.
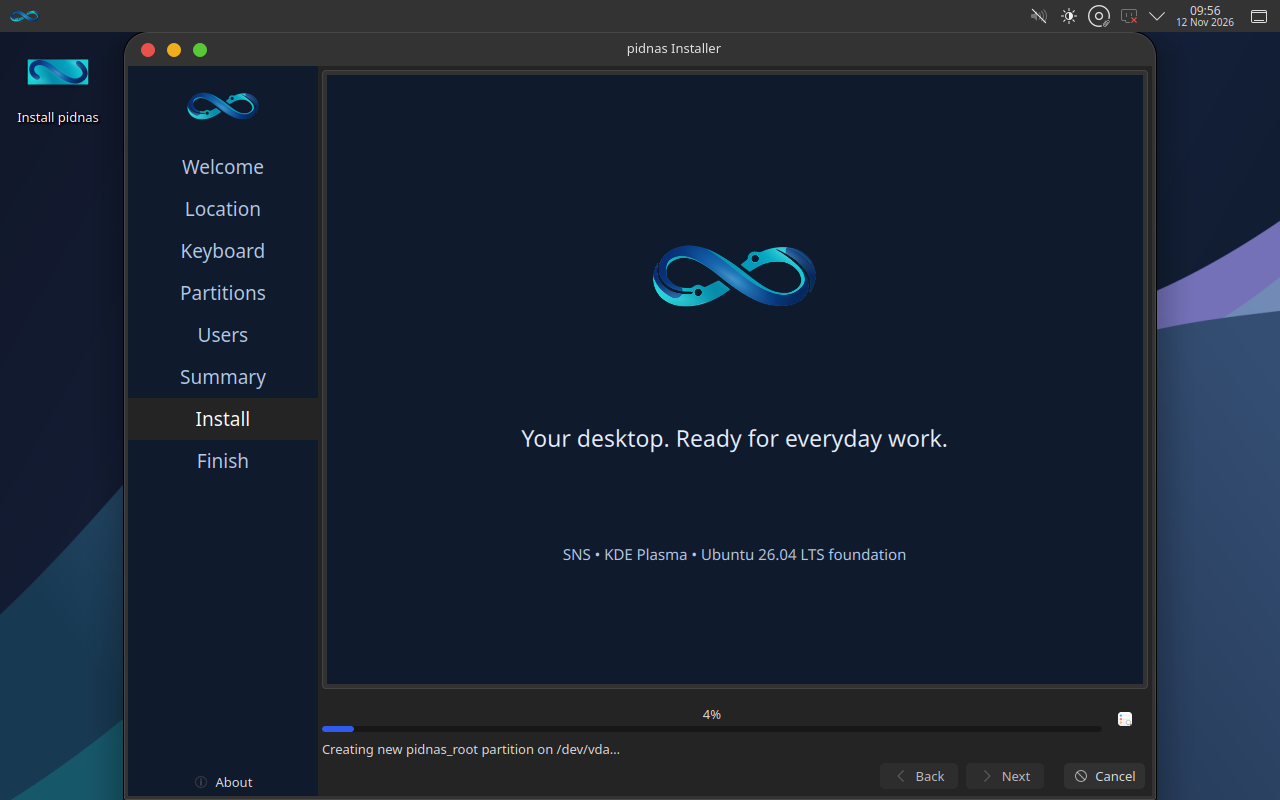
Installation starting
The installation screen.
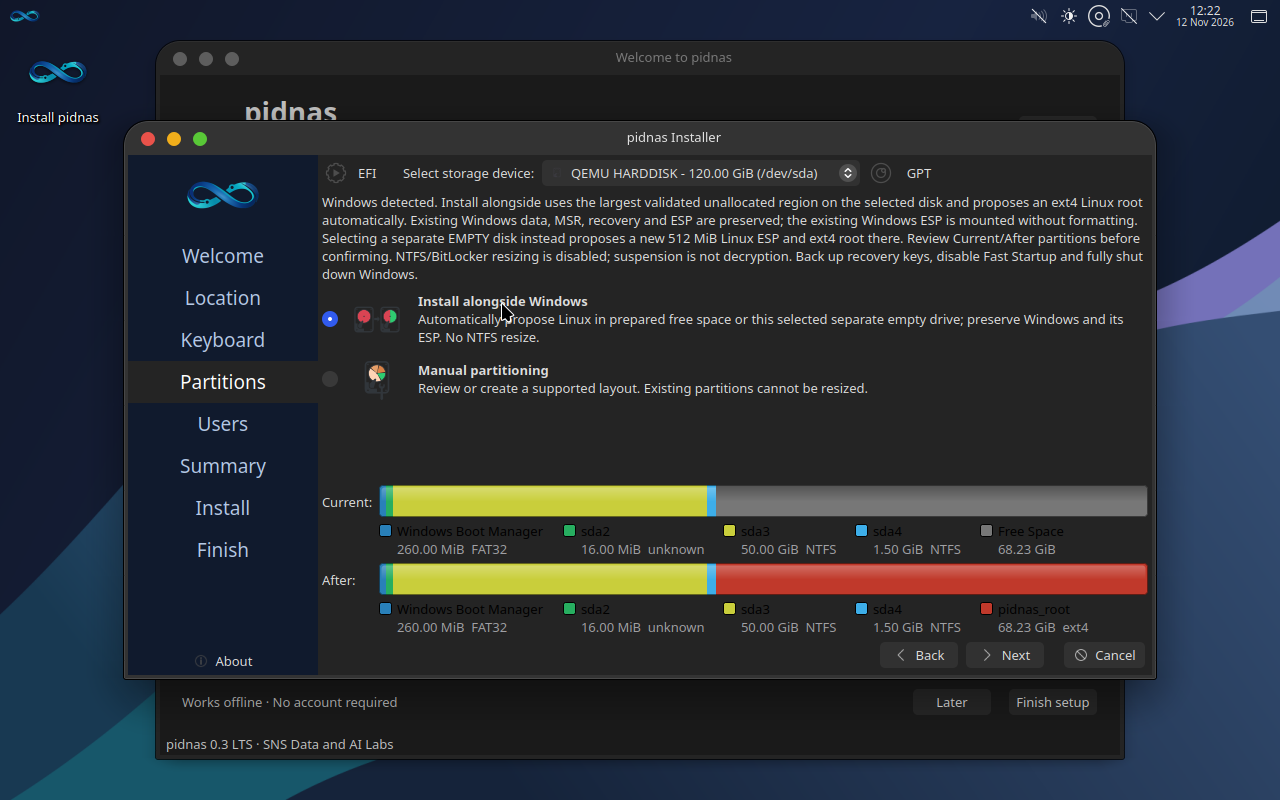
Windows Alongside layout
Windows Alongside layout, using prepared free space for Linux.
05 · Updates and package sources
Ubuntu’s standard repositories and normal security updates remain available. The SNS package channel can be added using its published signed-repository instructions.
If something needs attention
For a download or installation issue, include the pidnas version, image filename, checksum result, computer model and the step that failed. Keep personal files and credentials out of screenshots or messages.